This very small howto will tell you how to create a bootable USB stick containing a Dell Firmware uprade image. I did all of this on OSX, using only Disk Utility.app and fdisk. Because the disk image you can download from Dell is not a regular bootable ISO, tools like Etcher and UNetbootin do not work.
Alternatively, if you have the right iDRAC, you could try mounting the ISO as a virtual device, but that somehow always ends in broken connections halfway through - even if I’m on the same network.
However, it is this actually is very simple if you know what steps to take.
Step 1: download a Dell iso with all the updates, if you don’t already have it.
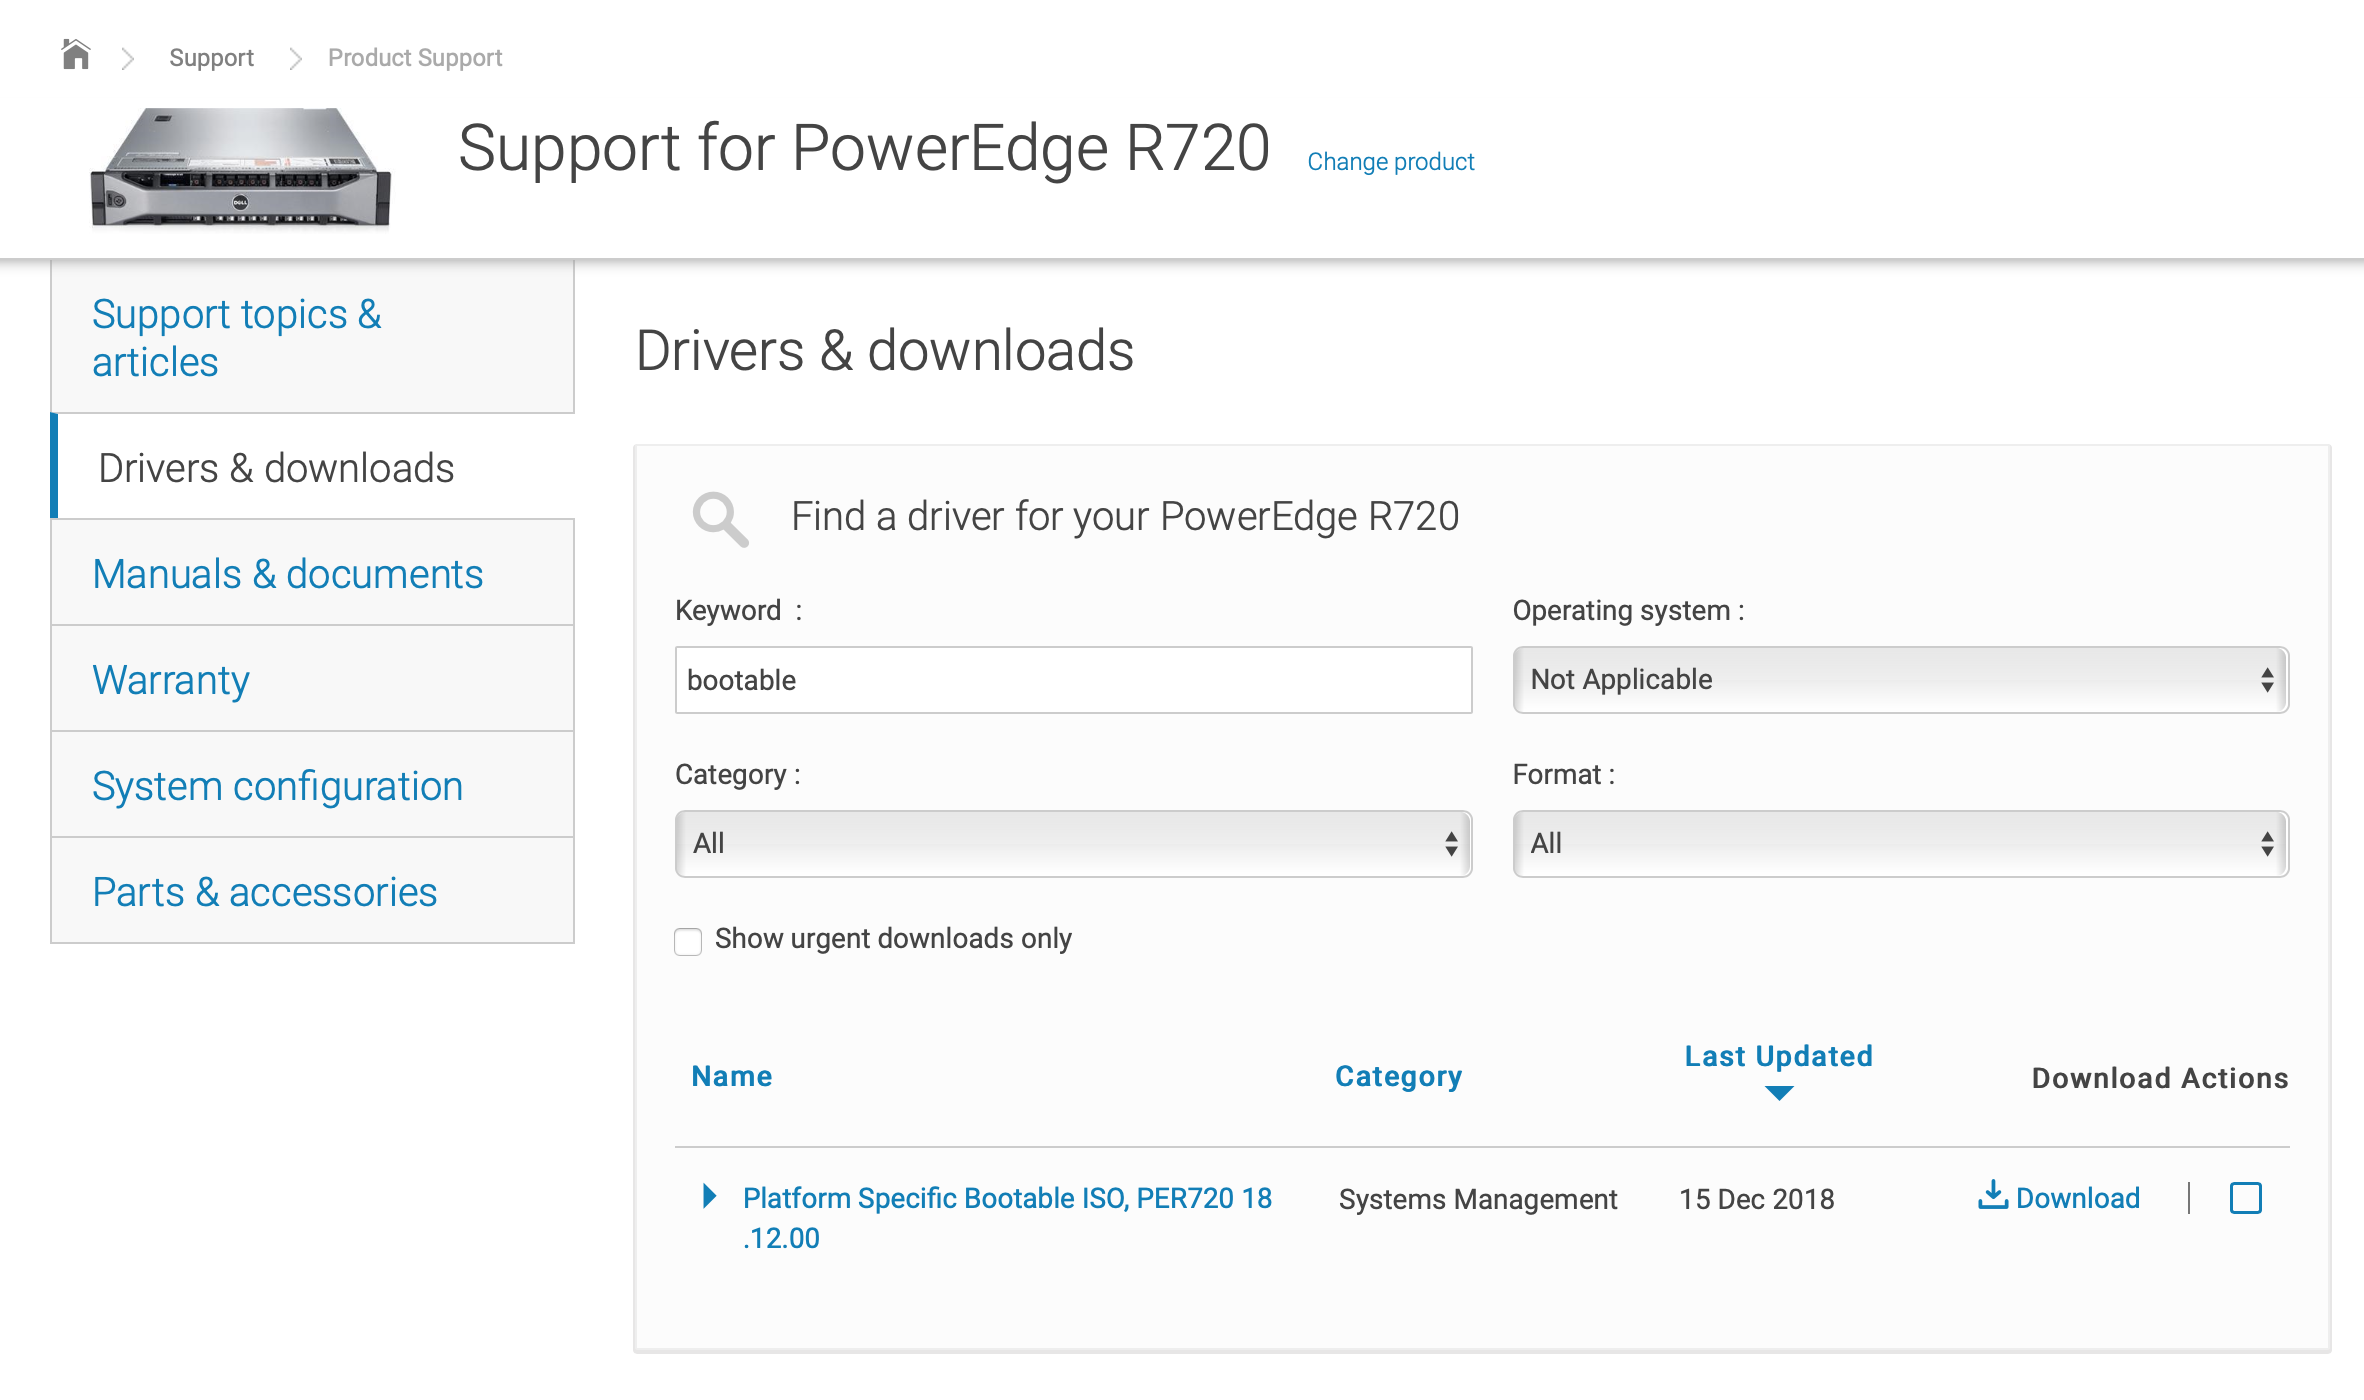
Each server model has its own ISO; the route I take is to go to support.dell.com , search for server model, then go to drivers & downlaods, and search for ‘bootable’, with OS set to N/A. See the screenshot for an example.

Downloading this might take a while, these are large files (several GB) and the CDN used by Dell is crap.
Step 2: prepare a USB stick. My ISO was about 3.5GB, so I took a 32 GB stick - the first device I could find that would hold the whole thing.
I was successful with DOS-style partitioning, and a single FAT32 partition marked as bootable/active using fdisk. Give this partition the label ‘CDROM’ (trust me. I found out the hard way.).
Note that UEFI should be able to handle GPT as well, but I am not hipster enough for that.
Step 3: wait for the ISO to download, and then mount it. cp -R all the things from the root of the ISO to the root of the stick.
Step 4: try to boot the machine using the stick, get thrown into a boot/root shell and find out the scripts that run at boot try to mount a device with label ‘CDROM’. Obviously, you can skip this step, I did it for you. If not, you can waste some time.
Step 5: make sure the disk label of the USB stick is ‘CDROM’ if you forgot to do that at step 2.
Step 6: Boot the thing. Grab some coffee or tea. Have a meeting. Come back, have an updated server.